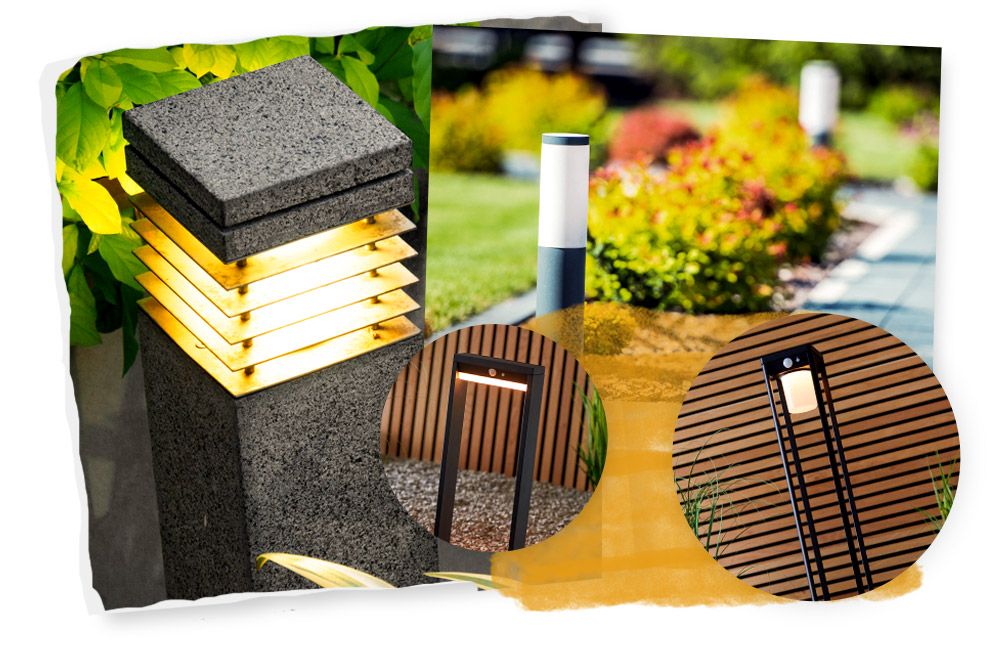
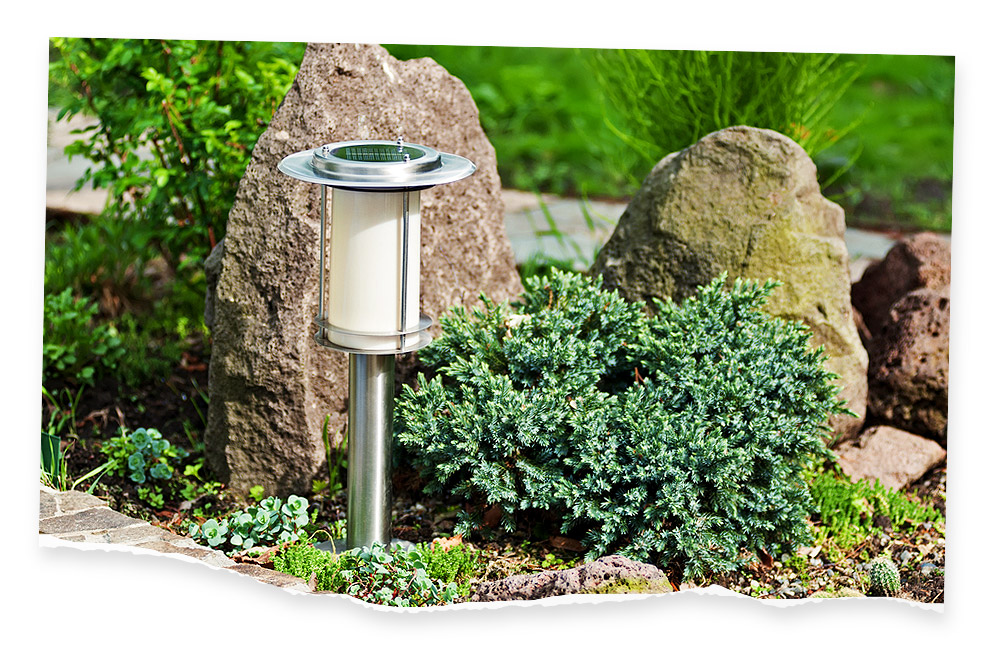
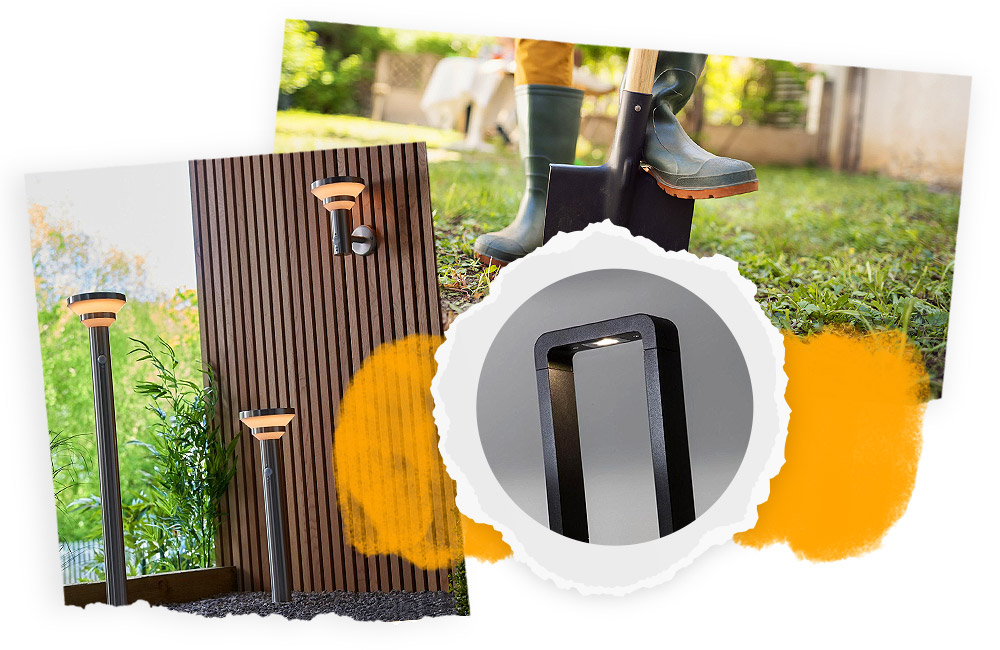
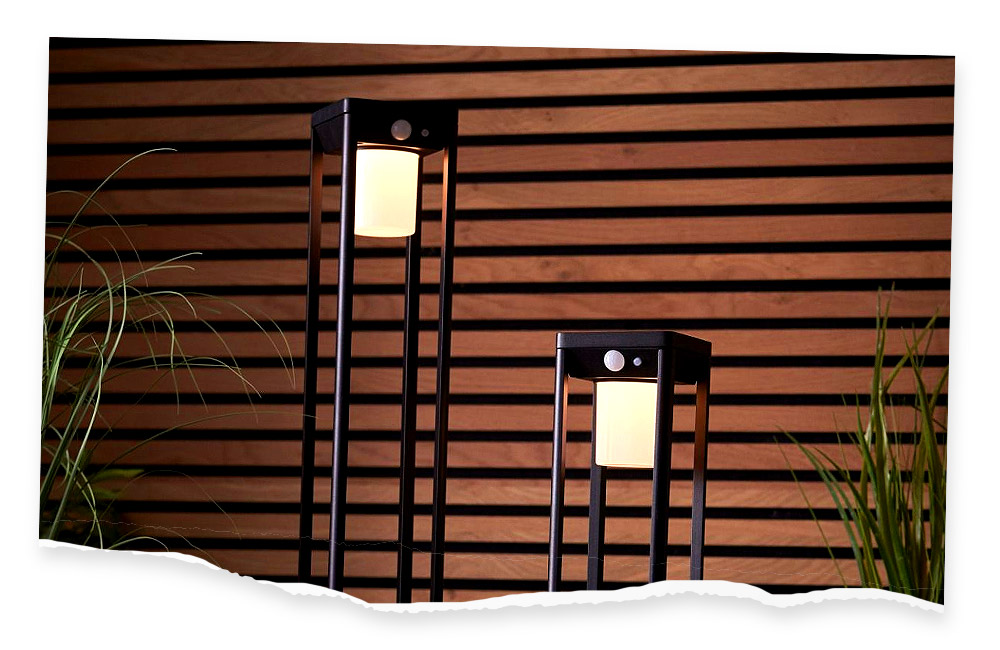
An outdoor post is an excellent way to ensure ample lighting in your garden while also adding style and a touch of beauty. From classic styles to something a bit more modern, there's something for everyone.
Outdoor garden lamp posts can be installed easier than you might think, with you being able to do most of the work yourself. So, how exactly do you fit one?
In this guide we'll outline exactly how to install an outdoor lamp post with our step-by-step instructions, as well as some tips for maintenance.

1. Choose your lamp post
Step one is by far the most fun, as it involves finding the best lamp post for your garden. Finding the right style, shape and type of post to suit your design and practical needs while adding the elegance you want is an important stage.
2. Find an electrician
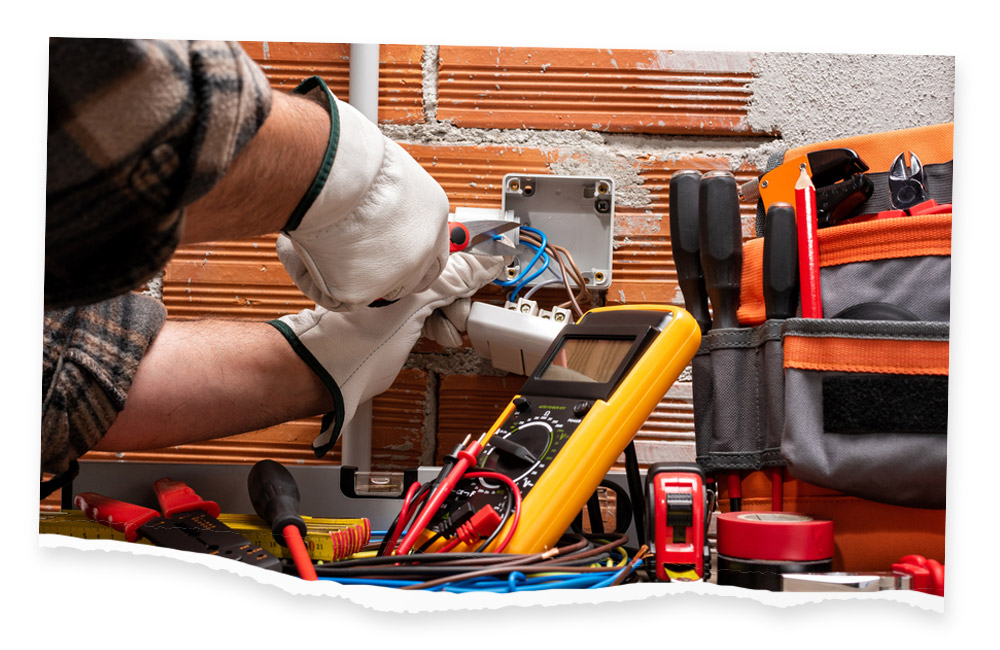
While some of the steps can be done by any competent person, we always recommend that anything involving wiring is done by a qualified electrician when possible. While you are able to set your lamp post up and run the wire yourself, you will need a qualified electrician to connect it to your power supply.
3. Get your tools and materials together

Installing a lamp post requires a few tools and materials to help you along the way. Prepare these things before you get started to make sure your installation goes smoothly. You’ll need:
-
Trenching spade
-
Dry fit PVC conduit with elbows
-
Hacksaw
-
Selection of cross and flat head screwdrivers
-
Electric drill and assorted drill bits
-
Wire strippers
-
Electrical insulation tape
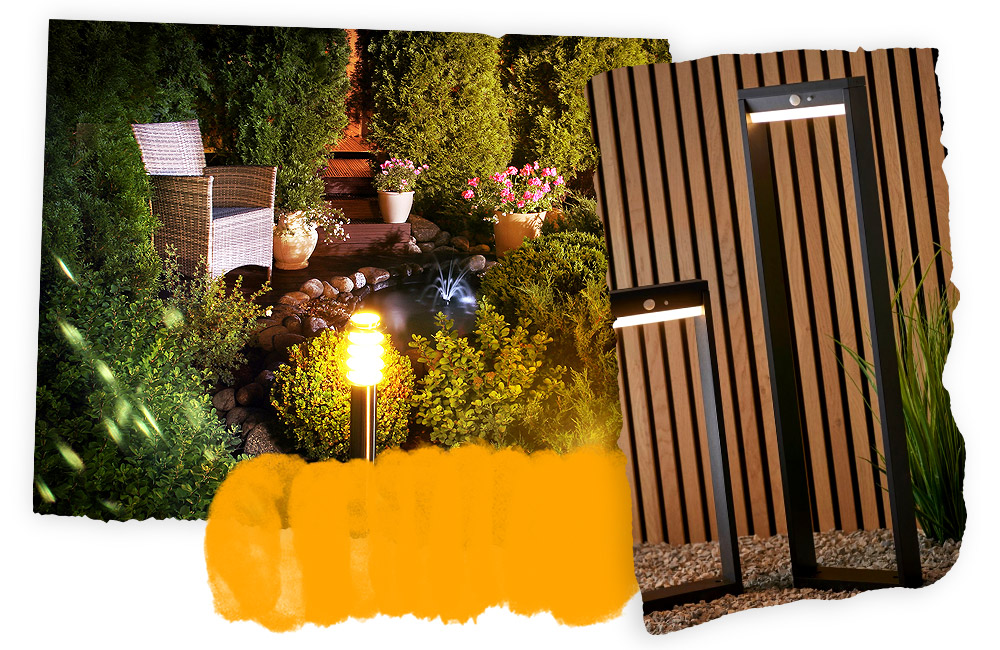
4. Pick the perfect spot
Placement is everything when it comes to outdoor lamp post lights. Find a nice spot in your garden that helps to show off the lamp post while lighting up the areas you need. Your lamp post will need a firm foundation, so ensure there is a solid mounting surface, such as a concrete slab - do not install directly on soil. You'll also need to consider how easy or difficult it could be to connect to existing power lines from where you choose to put your outdoor lamp post.
5. Dig the cable trench
Take the trenching spade and dig a deep but narrow trench to put your conduit in. It will need to be around 18 inches deep and just wide enough to accommodate the PVC conduit, and run from the lamp post location to the house.
6. Dry fit the PVC conduit
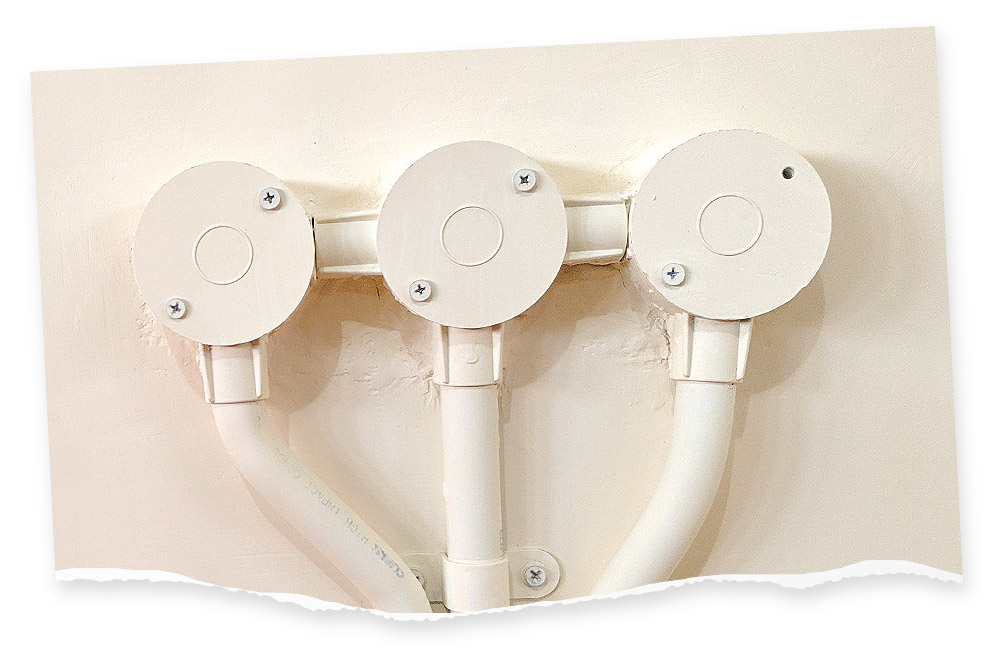
You will need enough dry fit PVC conduit to run from the lamp post to the house, where the supply connects. Use a hacksaw to cut the conduit to size if necessary. Start at the house and lead the conduit to the lamp post, run it into the trench and add an elbow so it's up at the trench. Add a conduit to the elbow, taking care to ensure it can project at least 6 inches off the ground for its whole length. It must be dry fit conduit.
Thread 12-gauge UF-rated wire through the conduit, with enough extra to connect to the power supply at the house and run up through the post, then fill in the trench with soil.
7. Mount the base

As mentioned earlier, your lamp post must be mounted onto a solid foundation, such as a concrete base or paving slab. It should not be directly installed in the soil. Place your base or template at the location, and mark out the fixing holes once you’re happy with the position. Drill the fixing holes into the installation site, then align and fix the lamp post base into position using the supplied anchor bolts, threading the wire through the base if necessary.
8. Thread the wire and fit the post
Now you’re ready to fit the central pole onto the base. Thread the wire cable through the unit from base to central pole, screwing it together as you go, as outlined in the product instructions. Ensure the entire unit is secured, then connect the lantern unit.
9. Connect the wires
Finally, it’s time to power it up. We recommend using a qualified electrician for this step.
First you’ll need to connect the wire you threaded through the lamp post to the wires on the lantern. The wires coming out of the lamp post should have three colours. Strip around 3 inches off the top of the insulation of the UF cable that should now be coming out the top of the lamp post.
Match the colours to the ones on the wires coming from the lantern and use a wire stripper to strip around an inch of the wire to expose the bare copper. Now twist the wires together using wire nuts.
The final step to connecting your lamp post is to have a qualified electrician connect the wires to your supply/breaker box and add a switch for it.
Now you've got your outdoor lamp post up and running, what about the maintenance? Here are some common aftercare FAQs:
How do I change the bulb?
If you're wondering how to change the light bulb in your outdoor lamp post, we've got you covered.
My lamp post is wobbly, what do I do?
If your outdoor lamp post is firmly attached to the base and/or fixed in with cement, there usually isn't anything to worry about if it's only wobbling slightly. If the wobbling is severe or you're worried it may tip, you can secure it with bracing straps as a short term solution. De-constructing the lamp post, detaching the base and moving to another foundation, or digging up the foundation and resetting, is usually the only way to permanently solve the problem long-term.
Can I paint my lamp post?
Of course! If your lamp post needs refreshing or you just want a change, you can paint it. The paint will need to be weather-resistant to ensure longevity, so epoxy and powder paints are usually the best option. Remember to apply a coat of primer first for the best results.
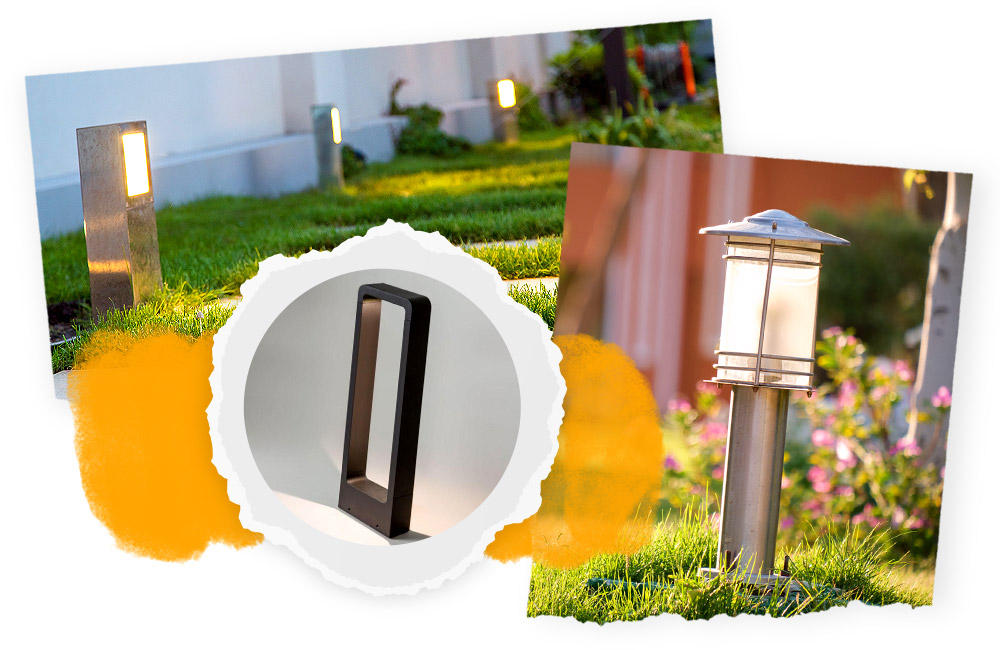
Browse our range of full-size park-style
lantern lamp posts and contemporary bollard-style lighting - you'll find the perfect solution to illuminate your garden, path, driveway and more.