How to choose and install
a ceiling fan
Ceiling fans are more than just decorative elements for your home—they're efficient cooling and heating appliances that add comfort and save you money. If you're considering buying one, this guide will outline the process of installation, the benefits of owning a ceiling fan, and factors to consider when making your purchase.

What is a Ceiling Fan?
A ceiling fan is a mechanical device hung from the ceiling of a room, with hub-mounted rotating blades that circulate air. Introduced in the early 1860s in the U.S., ceiling fans have evolved into stylish fixtures with improved energy efficiency and cooling capabilities.

How Does a Ceiling Fan Work?
A ceiling fan operates on a simple mechanism - it uses electric power to rotate a series of blades around a central hub known as a motor. This rotation circulates air throughout the room. Now, you may be wondering how this contributes to both cooling and heating your room. Let's break it down:

Cooling in Summer
During summer, a ceiling fan is typically run in the counterclockwise direction. When you look up at the fan, the blades should be moving from the top left, then down to the right, and then back up to the top. This direction pushes cool air down to the floor. The airflow created by the ceiling fan speeds up the evaporation of perspiration on your skin, which makes you feel cooler, even though the fan doesn't actually lower the temperature of the room.
Energy Efficiency
Not only can a ceiling fan add a touch of style to your room, but it's also an energy-efficient appliance. A ceiling fan consumes less electricity than running an air conditioner or a heater, leading to significant energy savings over time. Moreover, when used in conjunction with your heating or cooling system, it can make the room more comfortable more quickly, allowing you to adjust your thermostat for even more energy savings.
Warming in Winter
In the winter, the fan should be set to run clockwise at a low speed. Looking up, you'd see the blades moving from the top right, then down to the left, and then back up. This direction pulls cool air up, which drives the warm air that naturally rises and gets trapped near the ceiling down along the walls and back the floor. This makes a room feel warmer, which means you can lower your thermostat and save on your heating bills.
The Breeze Effect
Furthermore, a ceiling fan can create what's known as the "breeze effect," making a room feel up to 7 degrees cooler due to the increased moisture evaporation from the skin.
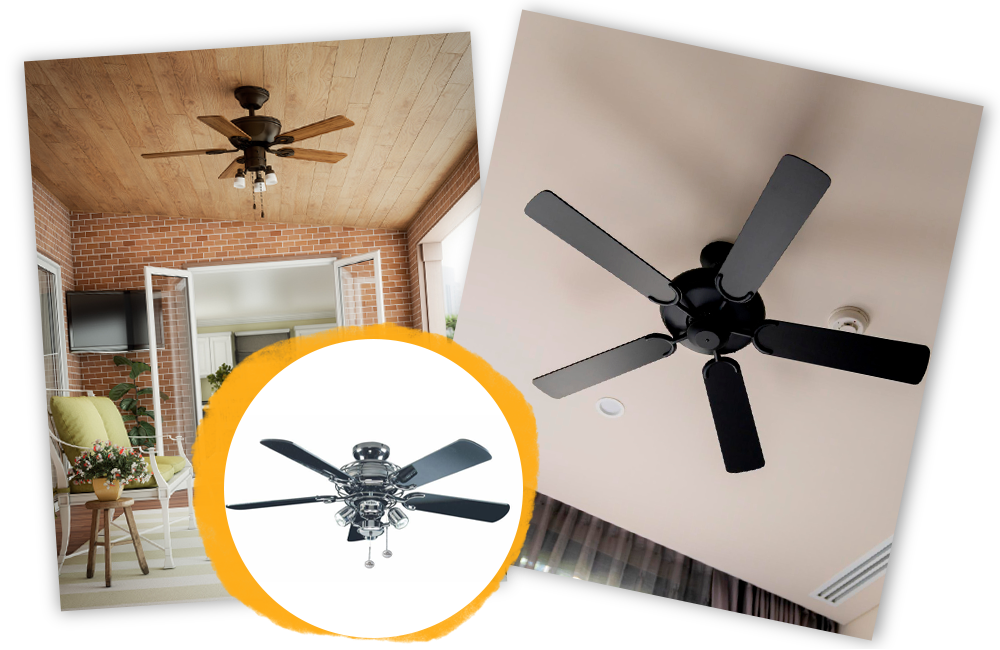
What Size Ceiling Fan Should I Choose?
Choosing the correct size of a ceiling fan is crucial to its performance and the comfort of your room. A fan that's too small for your space won't circulate air effectively, while one that's too large could generate too much airflow, creating an uncomfortable, windy environment.
The size of a ceiling fan is determined by its blade span, which is simply the distance from the tip of one blade to the tip of the blade directly across. Here are some general guidelines for matching room size to fan size:
Room Size
Fan Size
129 square feet (approximately 12 square meters)
30 to 36 inches (approximately 75 - 91 cm)
161 square feet (approximately 15 square meters)
42 inches (approximately 106 cm)
215 square feet (approximately 20 square meters)
48 inches (approximately 122 cm)
269 to 323 square feet (approximately 25 – 30 square meters)
52 inches (approximately 132 cm)
323 square feet (approximately 30 square meters)
Consider using 2 ceiling fans
Remember, these are guidelines and actual fan size might depend on other factors such as ceiling height and room layout.
As for the number of blades, while some people might think that more blades mean better performance, this isn't necessarily the case. In fact, there's no significant performance difference between four-blade and five-blade fans. The number of blades is primarily an aesthetic decision, so choose what you find most visually pleasing. Some people prefer the symmetry of a four-blade fan, while others like the traditional look of a five-blade design. Ultimately, the choice is yours!
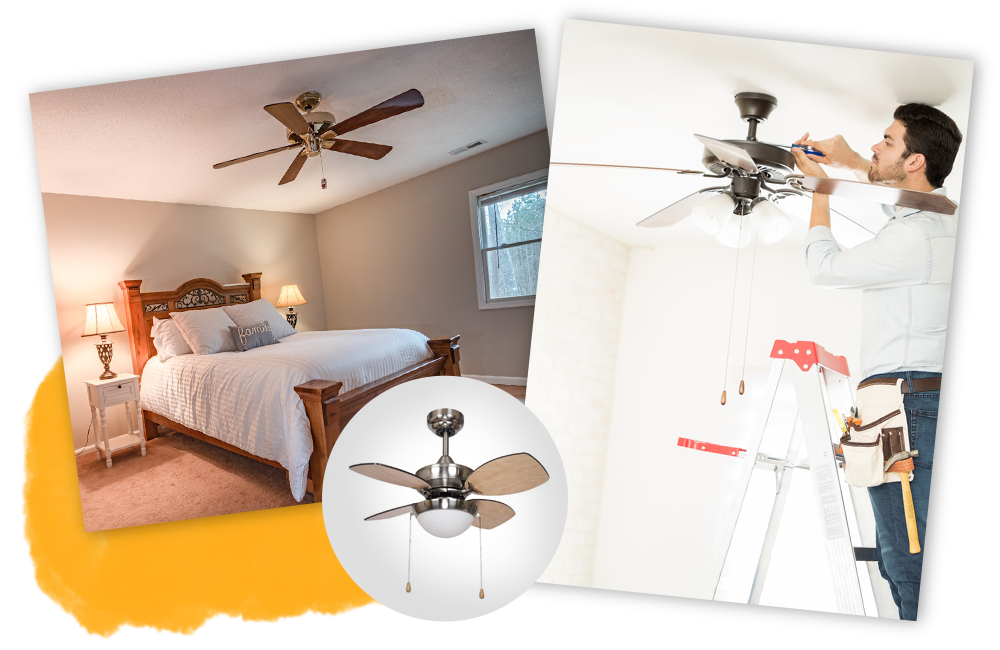
Installing Your Ceiling Fan
Before we dive in, it's important to understand that not all ceiling fans are created equal. Each model may have unique features, and therefore, specific installation instructions. While we've provided a general guide below, your fan may come with components such as an adjustable downrod, a receiver for remote control, or built-in LED lights, each of which may require additional or different steps during installation.
Always remember to read and follow the manufacturer's installation manual that comes with your specific ceiling fan model. This will ensure a safe and successful installation. If at any point you're unsure about a step or don't feel comfortable with the installation process, don't hesitate to hire a professional electrician to assist you. Safety should always be your top priority.
Let's dive into the general steps involved in installing a ceiling fan:
What You'll Need
Installation requires a few basic tools: a ladder, screwdrivers, a drill, wire strippers, a circuit tester, and the ceiling fan kit. Always refer to the manufacturer’s instructions included in your fan kit.
Pre-Installation Steps
Start by removing any existing light fixture. Ensure the electrical box is rated for ceiling fan support—if not, replace it with one that is.
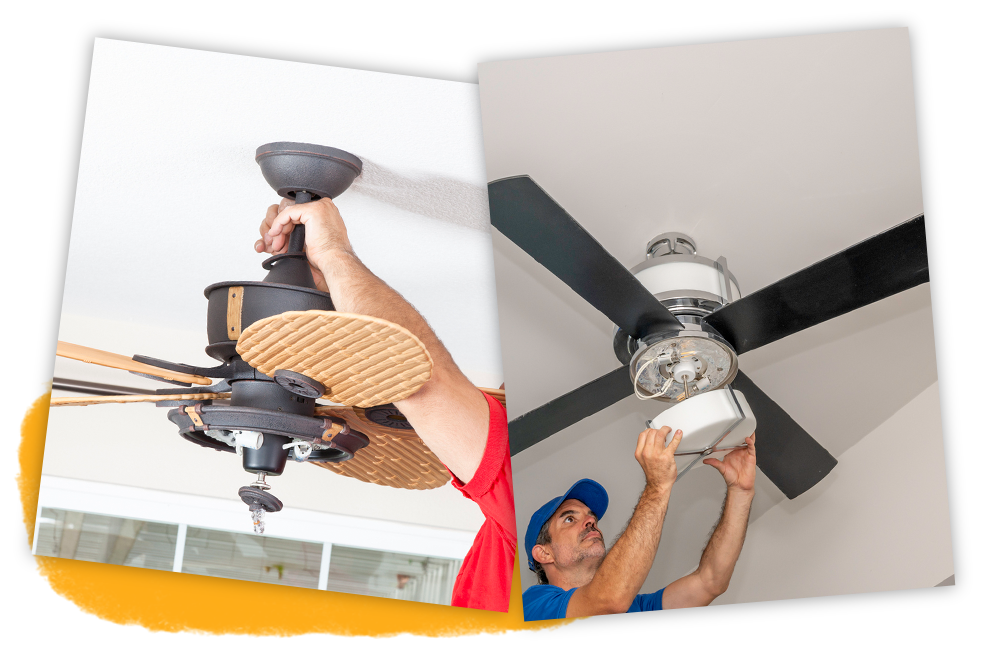
Attach the Fan to the Extension Rod/ Downrod
The downrod maintains an optimal distance between the ceiling and the fan, preventing the fan blades from hitting the ceiling and ensuring effective air circulation. Slide the downrod into the appropriate spot on the top of the motor housing and secure it with the provided screws. Different rooms and ceiling heights may require different downrod lengths, so make sure to follow the manufacturer's guidelines.
Attach the Fan to the Ceiling
Lift the entire assembly and hang it on the mounting bracket. The balance ball on the top of the downrod should slot into the groove in the bracket. This helps stabilize the fan and minimize wobbling. Once the fan is hanging, connect the wires following the manufacturer's instructions.
Safety Precautions
Before installation, ensure all necessary safety measures are in place. Turn off the power at the breaker box, and confirm the power is off using a circuit tester.
If you’re in doubt at any point during the installation process, please contact a qualified electrician.
Mounting the Bracket
The next step is to mount the bracket to the electrical box in your ceiling. This bracket will support and stabilize the weight of the fan. Ensure it's tightly secured with screws to prevent any wobbling or movement once the fan is installed.
Attach the Receiver to the Bracket
If your ceiling fan has a remote control, it will come with a receiver. This receiver needs to be attached to the already mounted bracket. Follow the manufacturer’s instructions to securely connect the receiver to the bracket.
Insert the Bulbs and Lampshade
If your fan has a light fitting, insert the bulbs into the sockets and then attach the lampshade.
High-Quality Ceiling Fans from Lights4Living
In conclusion, installing a ceiling fan can be a straightforward task when approached with the right knowledge and patience. Beyond the technical aspects, it's crucial to choose a fan that offers superior quality, style, and warranty, something that you can undoubtedly find at Lights4Living.
Our collection of Fantasia ceiling fans epitomizes quality, featuring some of the quietest motors on the market. These fans are not just about functionality but also style, available in various designs to suit your decor.
Most of our fans are easy to install, offer remote control operation, and include dimming options for the light fittings, making them a versatile addition to your space. As a further sign of our commitment to quality, all our ceiling fan motors are backed by a 5, 10, or 15-year warranty. During this period, should you encounter any issues, the fan motor will be replaced free of charge.

Lights4Living's range of fans is specially designed to operate quietly, efficiently, and with minimal maintenance. They are more than just appliances; they are an investment in comfort, efficiency, and style.
We hope this guide has provided you with a better understanding of ceiling fans and how to install them. However, should you have any further questions regarding ceiling fans or desk fans, please don't hesitate to contact us. We are here to ensure you make the best choice for your space and needs.